This post will be broken up in to several different posts to get you started with the basics of Google Earth. There is a lot of information and it sometimes feels overwhelming but some there are only a few simple buttons and commands that you really need. I will illustrate each of them to show you just how easy it is to get students started build cooling content in Google Earth. The biggest limiting factor that I have found is the teacher’s imagination and willingness to dive in. When students are in charge of creating the content, it sparks their curiosity and keeps them engaged, interested and motivated in their own learning.
Lets get started. Here is the first set of basic foundation skills to master.
Download and install Google Earth on your computer.
This sounds like a no brainer but I have had colleagues that have called me up at home because they couldn’t find Google Earth on their computer. Yes, you have to Google Earth’s page and click download. Then follow the instructions. You can do it. You’re a connected, internet savvy educator. I believe in you. You might notice that there is a Google Earth Pro version. You don’t need it. Believe me, I tried.
After downloading and installing Google Earth, you should spend a few days (I suggest one weekend) with a few of their tutorials so that you can create content yourself. Start with the tutorial on Searching, first. I usually assign some of the tutorial videos as an introduction to GE the weekend before we start using it as a flipped lesson. No student wants to be in a class with a teacher who has no idea about the technology they are using to instruct so be prepared! Spend some time getting yourself acquainted with the ins and outs of how Google Earth works.
Here is a short list of the types of basic functions you will need to know:
Learning what is in the sidebar. Probably the most important place to learn about in GE. It looks confusing when you start because there are three different panels in the sidebar. They are called from top to bottom: Search, Places, and Layers. To top it off, they turn on a bunch of stuff in the Layers panel at the start of each session. We’ll get to that in a minute but I usually just uncheck EVERY BOX to that I can start with a blank slate and only turn on what I need for each GE session.
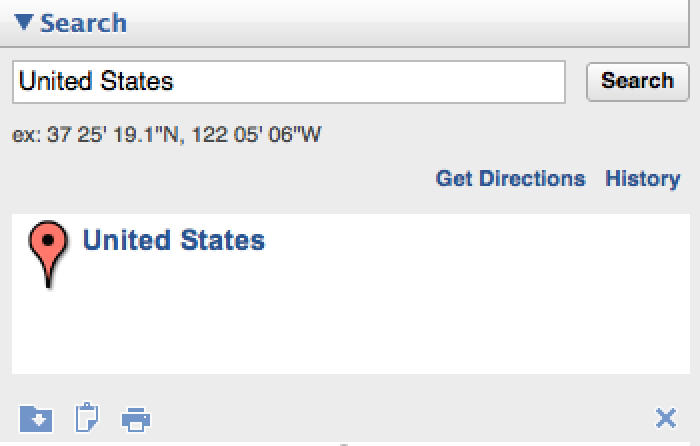
- The top panel is call the Search Panel. This is where you can type in the name of a country, state, province, city, or even famous landmark. Google Earth will fly you there automatically.

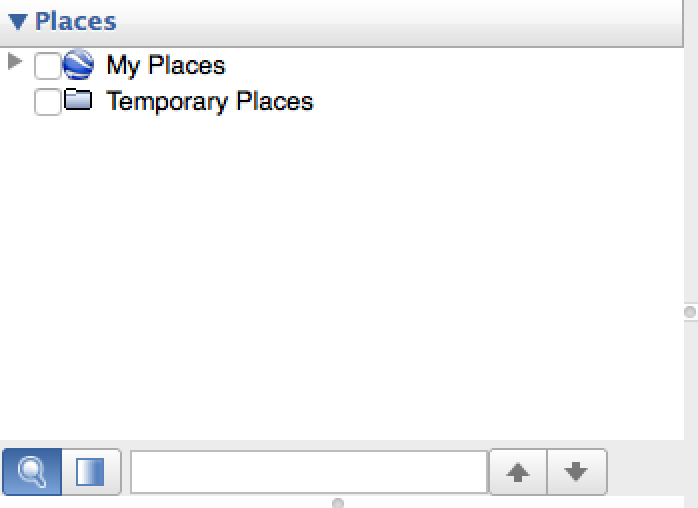
Using the search panel, you can locate almost anything in GE - The middle panel is called the Places Panel. This is where the content you create will get stored. There are two folders in it already, the My Places folder and the Temporary folder.

This is where your content will be created and stored. Make not of the two different folders: My Places and Temporary 
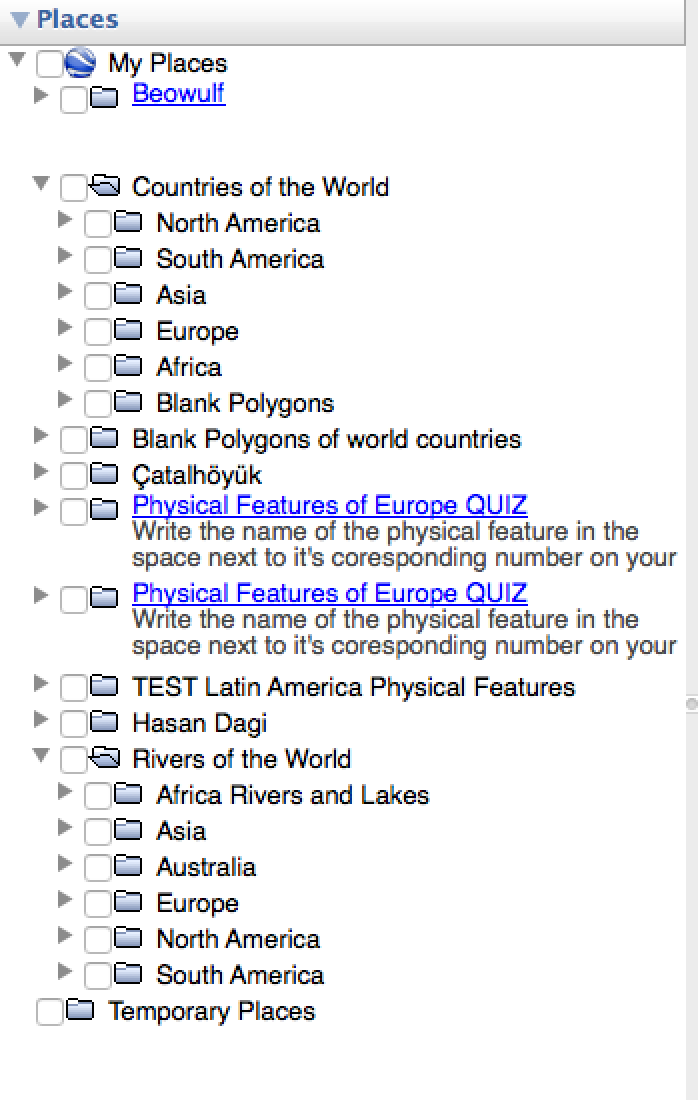
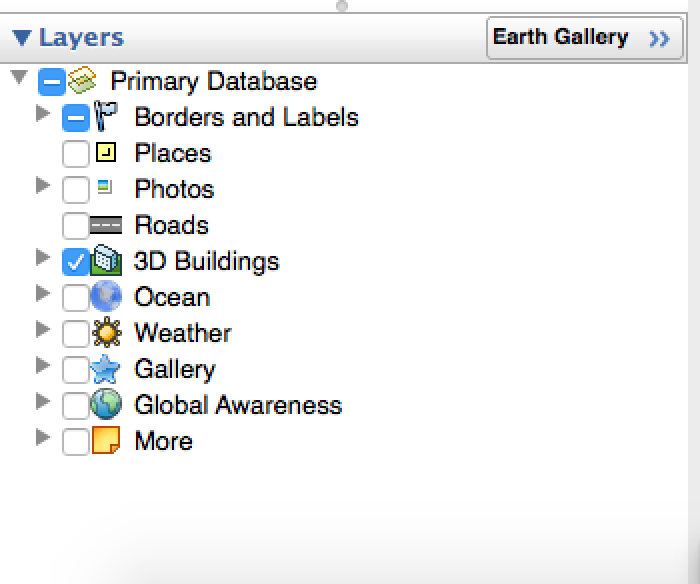
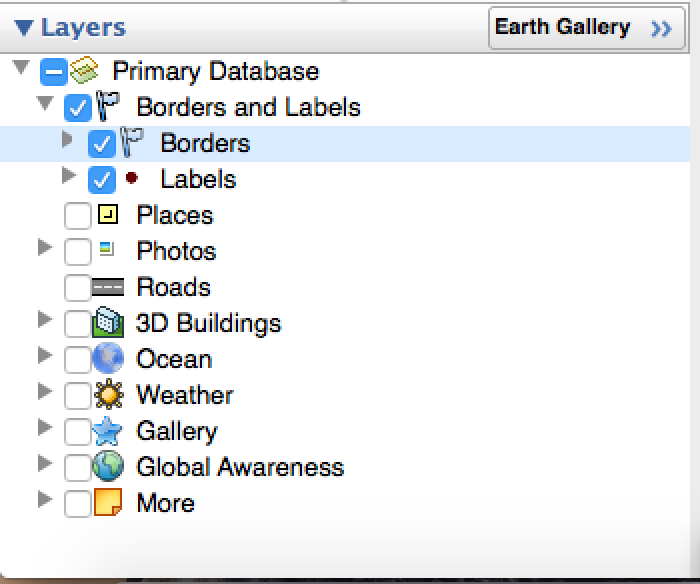
This is my personal MY Places folder. You can see some of the kinds of files I have built that are stored here. - The bottom panel is called the Layers Panel: GE builds in a ton of cool features and information that you can ‘layer’ them on top of each other. This will help you gain new insights and perspective about the place you are studying.

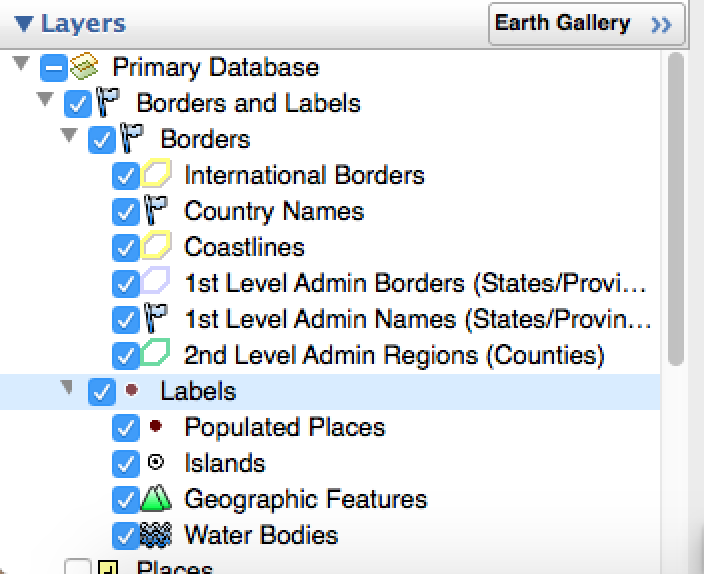
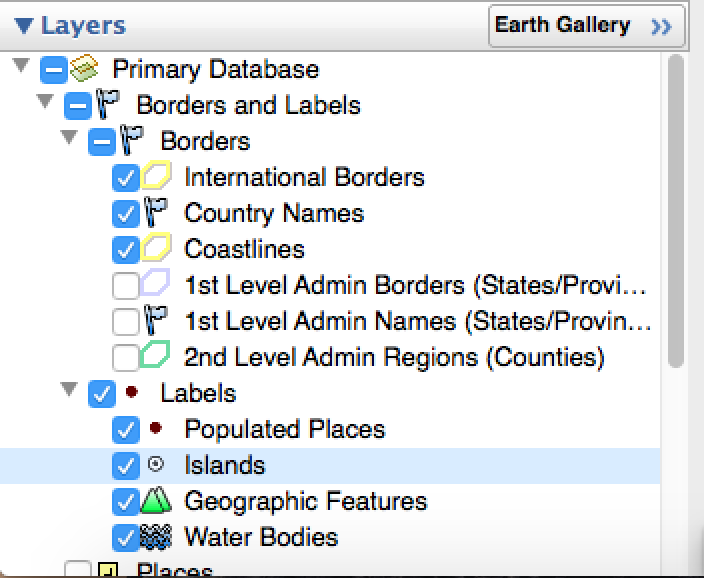
This panel contains all the cool bells and whistles for GE. Choose wisely! It’s great if you know what you want to layer but in the beginning I would turn everything OFF so you don’t get overwhelmed or distracted with all the extra bells and whistles. When you do start turning things on, start with simple things like Borders and Labels (note: you still might want to turn off some of the less used borders and labels like the counties)


Learning where things are and how each panel is used is one of the foundations of getting good at using Google Earth. When I start my students off with Google Earth, I only explain the panels and Navigation (next post) on day 1. I give them a good 20 minutes to play with GE with little to no other instruction. You need to have a fairly good understanding of how each panel works so you don’t get confused when you’re in front of your students.
The next post will be about Navigation and moving around in Google Earth. Happy hunting!


4 thoughts on “Getting ready to teach with Google Earth”