This post might be a bit longer than ones I’ve been writing recently but I’ve been challenged by @cheffernan75 to write a description for a photo that I used in my recent blog post on a flexible learning space. The image in question has all the tables stacked and moved out of the way and all the chairs neatly arranged around a massive 18ft X 18ft grid made from blue and green painters tape.
The activity is called The Grid. I’ve spent over ten years moulding and shaping it into an immersive experience for students to learn some foundation skills about mapping. What I thought would be a neat way to introduce the concept of latitude and longitude has evolved over the years into a conversation about defining what a map is and why they are so useful to geographers. Some of the concepts that are touched upon are:
- Latitude and Longitude (Absolute Location skills)
- Cardinal Directions (Relative Location skills)
- Map Distortion/Types of Maps
- Graphing/Data point collection and plotting
How do I build it? What are the parts?
The Grid itself is measured at 18ft X 18ft and uses 1.5in painters tape. The first year I made it I used yarn. Unfortunately the yard kept getting moved all around the floor so I needed to try something else. That’s when I tried masking tape. DON’T USE MASKING TAPE! It is the bane of my existence. It sticks so much better to a floor than painters tape which is the problem. The custodians ripped me a new one after I put it down and told them it would be on the rug for two weeks. When I saw how hard it was to pull up, I needed to find a better solution. Enter painters tape. It come in different colors, which is great for students who need help differentiating latitude from longitude. I use the green tape for latitude and often will use the slogan, “Green means go” to signify that we always start with latitude when finding a coordinate.
The build
After sending the kids home on a Monday to watch a short Youtube video on Lat/Long
to get the kids thinking about it. I don’t assign any worksheets or anything like that. Only ask them to think about latitude and longitude and come in with some questions that they want cleared up. Once the kids leave school the real labor intensive part start.
I measure out the floorspace. Anyone who has ever done home remodeling knows how important it is to have a trusted tape measure around…
 Then I start the construction. I make the border first and mark off every foot with a small piece of tape so I know where my lines will end up going. If you don’t do this at the beginning you will have crooked lines and no one wants that…

I start adding the lines of Latitude and Longitude. I begin with the Prime Meridian and the Equator. It breaks up the grid into quadrants so it’s a little easier to spatially organize my work.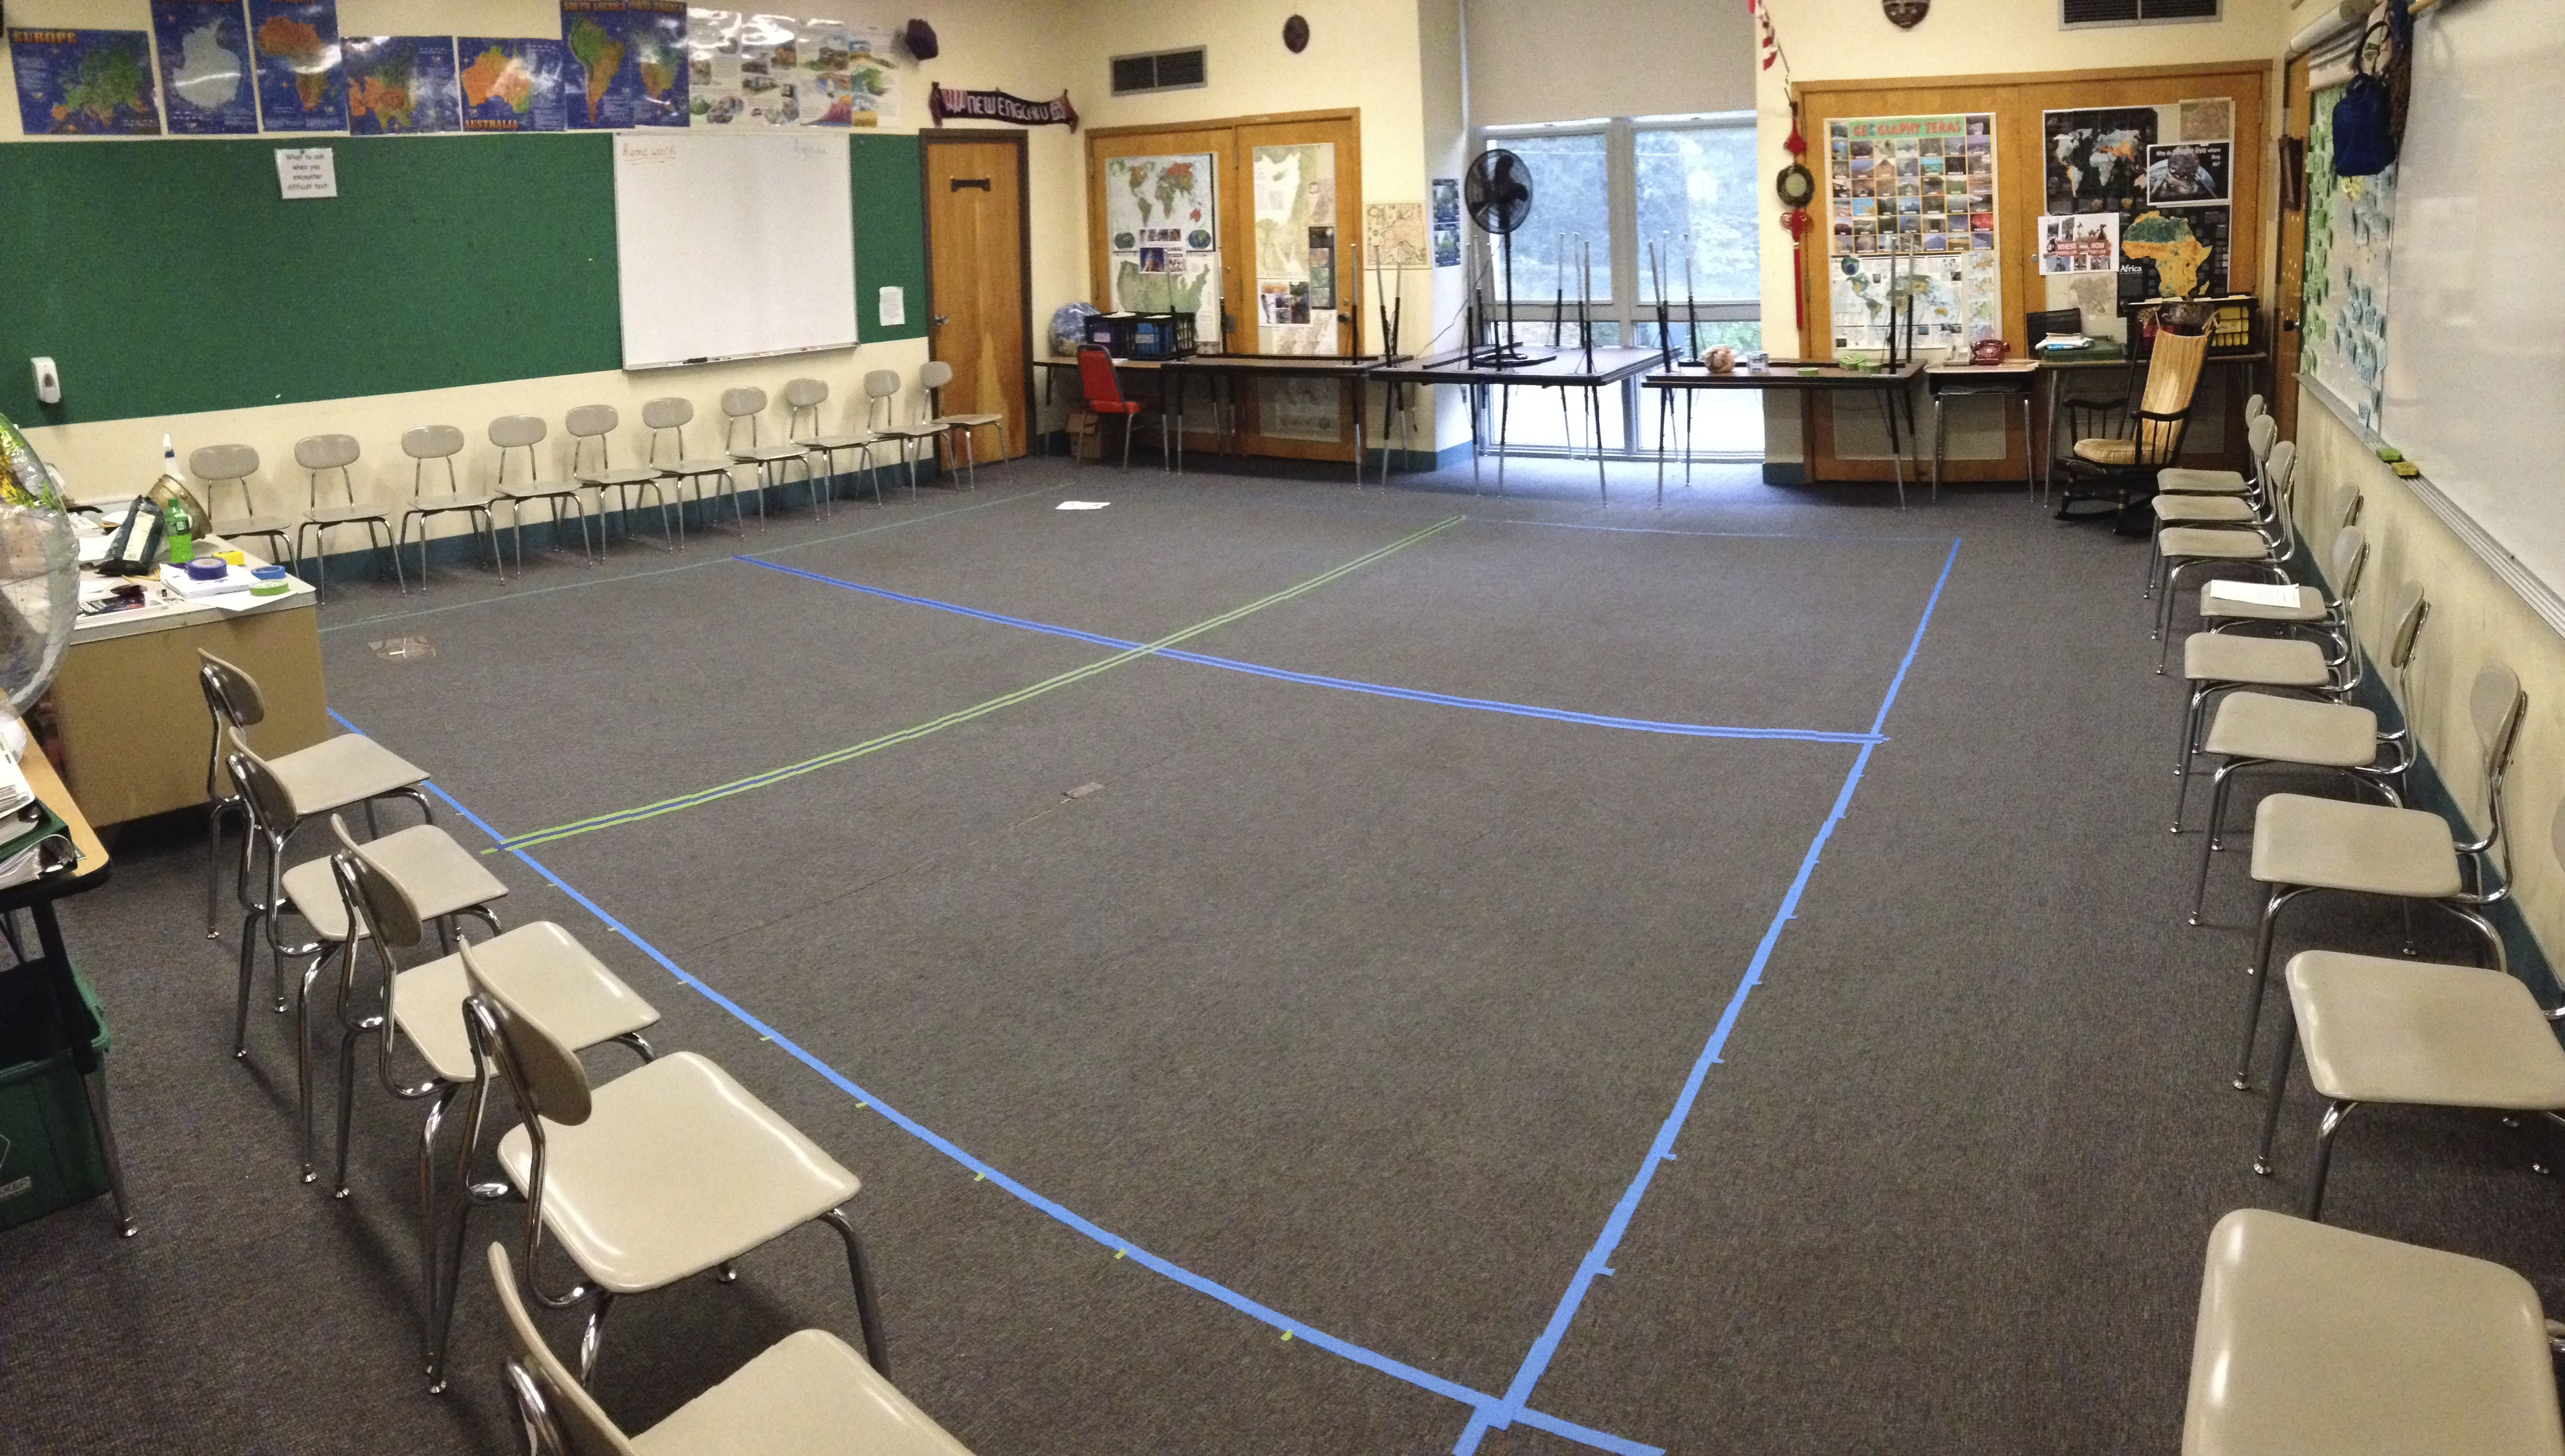
Then I get some water. It’s September when I do this so it’s still summer. Get’s really hot in the building…
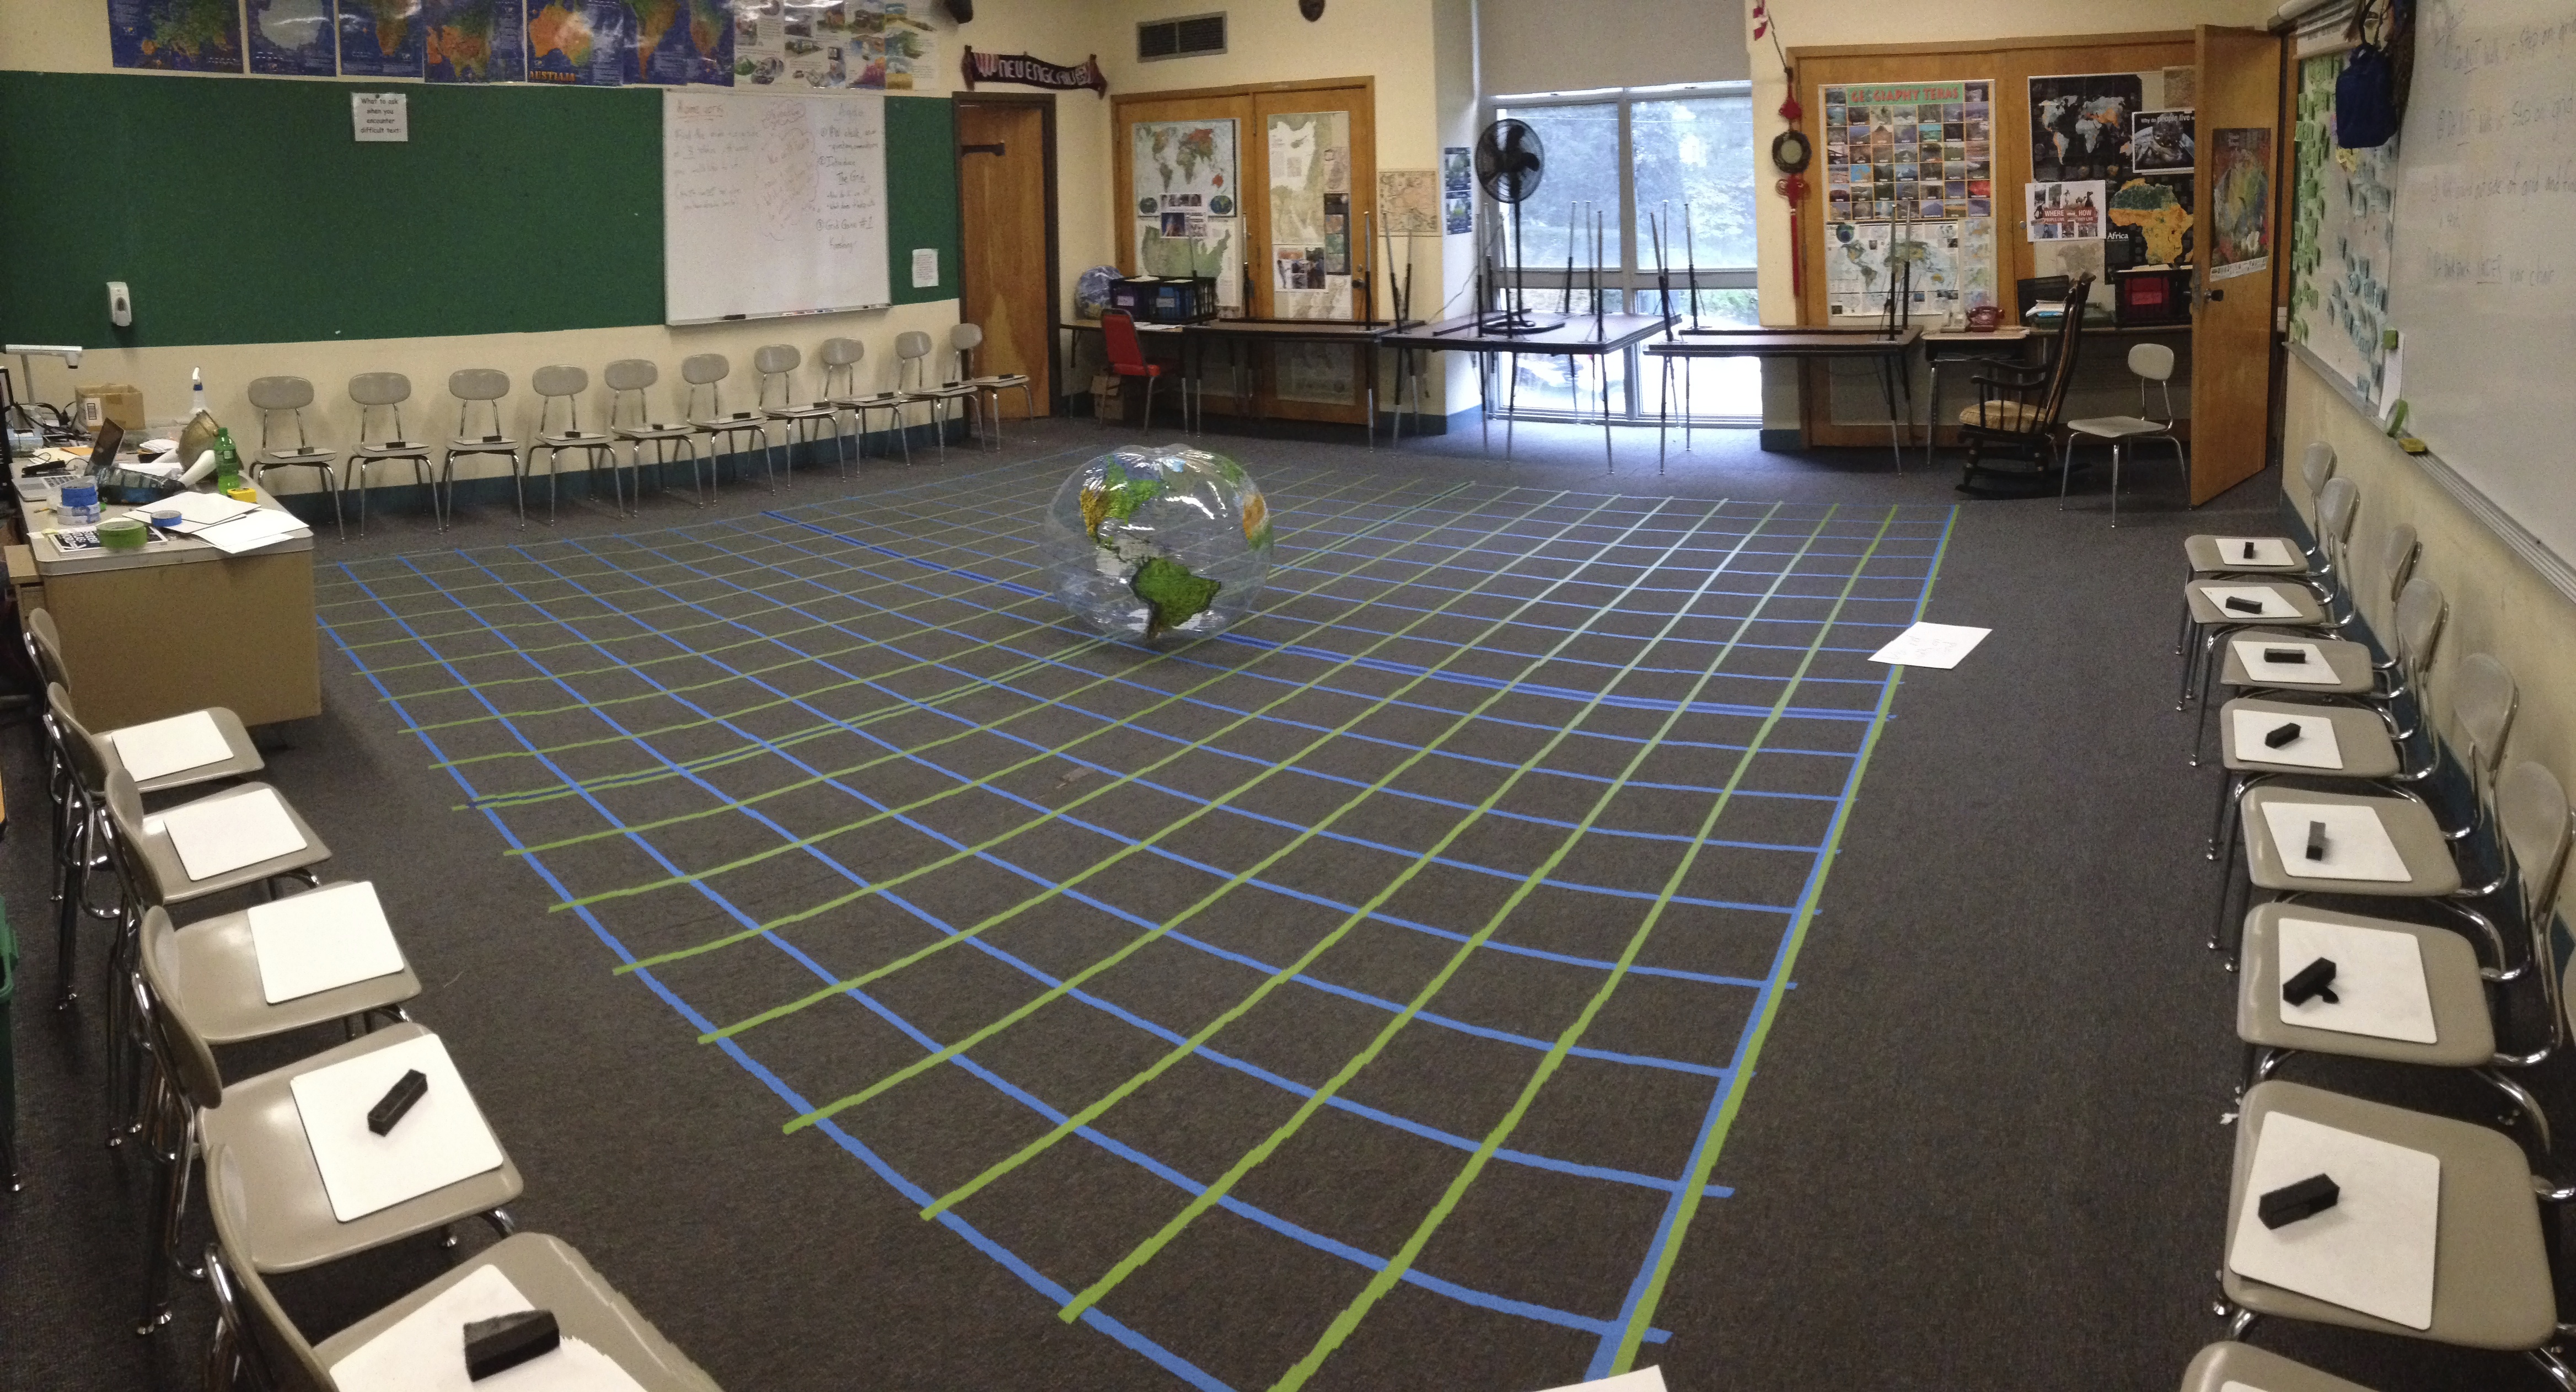
Here comes the hard part. I have to put all the lines of latitude and longitude down. It takes a while because You have to keep everything straight. I have done it by myself many times but it is A LOT easier if you snag a co-worker to hold one end of each line of tape. It will save you about 30 minutes of time. If you look closely at the image, you will notice that I double lined the Prime Meridian and the Equator. It is a visual cue for students who need an extra reference point… don’t forget to pat-down the lines to make sure they adhere to the floor properly. We are talking about middle school kids here. If anyone can break tape on the floor, it’s them.
The finished grid will end up looking something like this (giant inflatable globe not included). If you want some useless trivia involved with your grid, you can (like I do) orient the grid to relative north.
Now that the basic construction is finished, we have to start organizing and planning the activities… and there are several stages. I’ll post those later.
The agenda board
The Instruction Board
The board of Lat/Lon cards
City cards for build the world activity
The other materials


Can’t wait to see the rest. Thanks so much for sharing. I have linoleum but painters tape works well on it. Looking forward to using this-I’ve been wanting to do this for years but moving all those desks was a no go. I have new rolling folding tables so nothing but the time and effort are in the way.
LikeLike
It takes a total of about two hours to build. The materials for the latitude/longitude cards and the city cards takes time as well but you can use the grid for any number of activities your imagination comes up with. Thanks for the feedback!
LikeLike