Get faster at building content: Nuts and Bolts edition
My last post was all about the basic of creating your first bit of content in Google Earth. Today I’m going to show you a few hacks to make the process a little easier. If you remember from my last post, the three forms of content creation in GE are Placemarks, Paths, and Polygons. These structures can be combined to create layers that illustrate a topic or idea. It is in the combination of these tools that creates the beautiful files that is the hallmark of Google Earth. The problem is that unless you have a vision of what you are trying to create, you might get bogged down in the slog of actually building the file. If you do not stay organized with folders and keep track of where you are putting your newly created placemarks, paths, and polygons, you run a very high risk of either losing valuable information you created, or making a file that is useless for anyone else but you to use. My hope is to help you create beautiful files that are easy to navigate and beautiful to view. Once you have a handle on these functions, teaching your students to create becomes much easier.
Lets start by creating a simple polygon with a placemark to describe it using shortcuts.
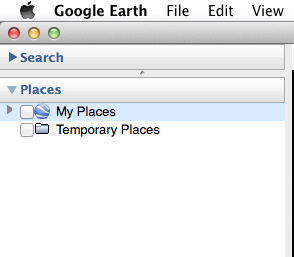
Step 1: Setup you panels to be less distracting. There are little arrows located on the left side of each panel title. When building new content you will mostly be using the Places panel so I ALWAYS close both the Search and Layers panel unless I specifically need to use them. This allows me to stay focused on just the content I’m building. See below

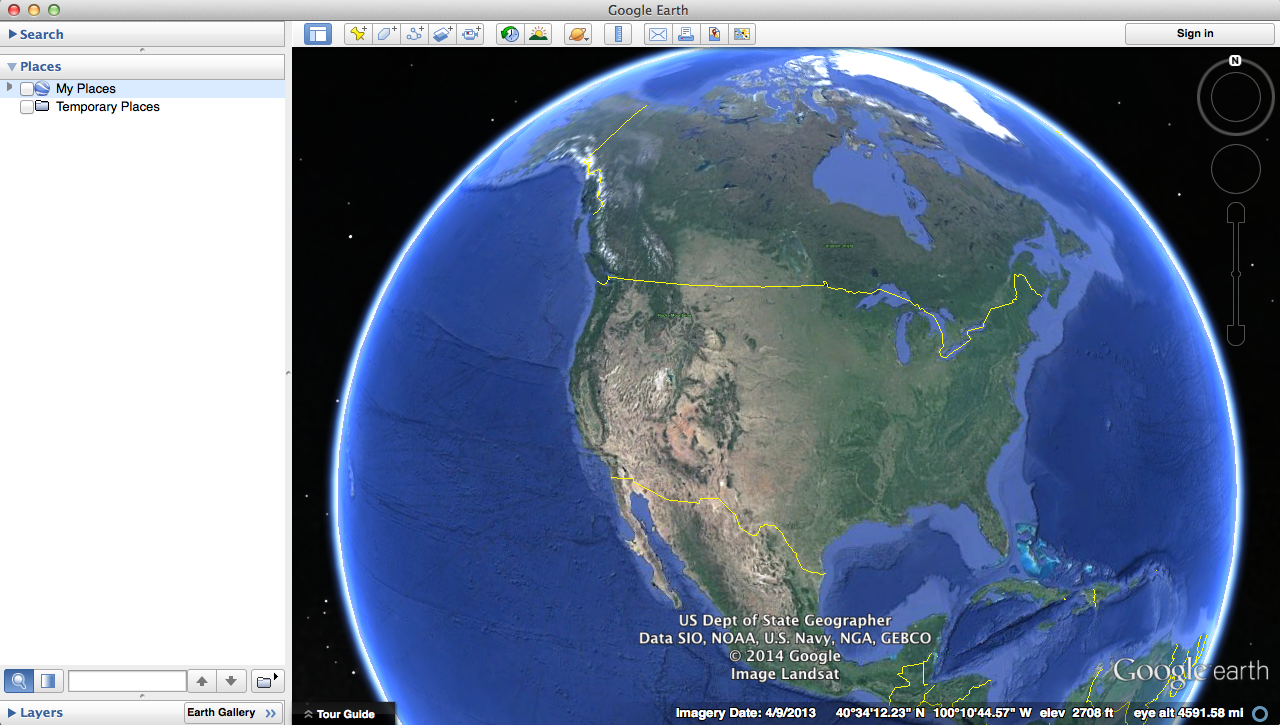
Notice how the second image looks more streamlined and less distracting? Yeah, me too. Limiting visual distractions in Google Earth is a simple way to help you stay organized and focused.
Step 2: Make sure you ALWAYS highlight the folder you want to create in BEFORE you add a new folder.
This may seem like a no brainer but it related to what I was saying above about getting distracted. What I have noticed is that students often accidentally create a placemark of polygon in the wrong place because they didn’t notice they hadn’t highlighted the folder they wanted to put it in. When they saved and closed out of GE, they lost valuable information that spent a good amount of time creating and would obviously upset about it.
OK, Now we’re ready! Let’s build. I’m going to build a polygon for the Island of Madagascar (the world’s 4th largest island). Take a look at this video that I made to walk you through the process. It’s only three minutes long.
Let’s review:
- Make a folder: Either using the menu on the tops of the screen or by using the two-finger hack, make sure you create your folder in MY PLACES.
- Make sure you highlight the folder: When you highlight the folder you want to create content in, you are telling Google Earth to make that folder the active one and to ignore the other folders for now.
- Make the polygon.Tracing outlines on Google Earth is easier when you drop the opacity down to about 50% or less. I wouldn’t go below 30% because it will get a little too transparent to see what you’re doing. We drop the opacity so we are able to distinguish between borders and water/land boundaries.
- Make the placemark. Making a placemark is like putting a title in Google Earth to help your viewer create context and easing their understanding.
- Make sure the polygon and placemark are IN the folder you made: Always double check your work before you exit and save!
Woot! Happy building time!


3 thoughts on “Nuts and Bolts of building content in Google Earth”